Showing posts with label cookies. Show all posts

Saturday, March 31, 2012

Pumpkin Cookies


Summer arrived in Colorado about a month and a half ago. I was home in Minnesota last weekend, and the trees were budding. This place is crazy. Matt and I have been doing wedding preparation type things. And Ultimate season is starting, which means I get to wear my garish homemade pink tractor skirt (and yes, this fabric is available at JoAnn's)! And that I can bake for frisbee friends.

Today's special is pumpkin cookies (more like pumpkin muffin tops, really).

Soft Pumpkin Cookies
from AllRecipes

Cookies

  • 2 1/2 cups all-purpose flour
  • 1 teaspoon baking powder
  • 1 teaspoon baking soda
  • 2 teaspoons ground cinnamon
  • 1/2 teaspoon ground nutmeg
  • 1/2 teaspoon ground cloves
  • 1/2 teaspoon salt
  • 1/2 cup oil
  • 1 1/2 cups white sugar
  • 1 cup canned pumpkin puree
  • 1 egg
  • 1 teaspoon vanilla extract
Frosting
  • 1 cups confectioners sugar
  • 1 tablespoon cream cheese
  • 1 teaspoon vanilla extract
  • 1-2 tablespoons milk
  1. Preheat oven to 350F. Line two baking sheets with partchment paper or silpat. (Or not, if you're ill-equipped).
  2. Mix together oil, egg, sugar, vanilla, and pumpkin until well-blended
  3. Add flour, leavening, spices, and salt in a pile on top and mix them together a bit before stirring into the wet ingredients.
  4. Drop by tablespoonfuls onto cookies sheets (supposedly makes 36, my batch made 22 because I got overexcited about large cookies). Bake for 15 minutes or until tops are slightly browned. Cool completely.
  5. In the meantime, make the icing. Combine all ingredients but the milk, and add enough milk to make it drizzly. When cookies are totally cool, drizzle the icing over them.


Wednesday, February 15, 2012

More chocolate please

I've been doing a lot of crafting in the last few months. I never really got into knitting (too ADD?), but when a friend recently showed me how to wire wrap my own earrings, I went a little nuts. And once I had an absurd amount of dangly earrings, I needed a better place to store them than on the bathroom counter. Here's my solution. Fine black plastic mesh in a picture frame. I feel so clever. Now I have to stop making earrings. I am also planning to make a wedding quilt in lieu of a guestbook. Not that I've ever made anything using a sewing machine unless I was supervised by a pro seamstress. We'll see how that goes in a few months.


I'm always looking for a cookie/brownie that maximizes chocolate per bite while not getting dry or otherwise unpleasant. I've had this recipe on my "to bake" list for a couple of months now. Not sure how I only just made them. Yes, they do take the equivalent of two normal-sized bags (24 oz.) of chocolate chips per batch. I didn't try the recipe that calls for 42 oz. Patience, grasshopper.


Chocolate Chubbie's
adapted from Sarabeth's Bakery

  • 1 stick (8 Tbsp) unsalted butter, cut into 1/2-inch cubes
  • 12 oz. semisweet chocolate chips (or 9 oz. bittersweet + 3 oz. unsweetened)
  • 1/2 cup flour
  • 1/2 tsp baking soda
  • 1/4 tsp salt
  • 3 eggs, at room temperature
  • 1 cup sugar
  • 2 tsp vanilla
  • 12 oz. (2 cups) semisweet chocolate chips
  • 2 cups coarsely chopped walnuts (or with half pecans)
  1. Position racks in center and top third of oven. Line two baking sheets with parchment paper
  2. Bring 1 inch of water to a boil in a medium saucepan. Put the butter in a metal bowl and melt over the water. Add 12 oz. of chocolate and stir until melted and smooth. Remove from heat and let sit for 5 minutes to cool.
  3. Stir together flour, baking powder, and salt in a little bowl.
  4. Whip the eggs with your fancy mixer or whisk until foamy. Add sugar and vanilla and whip for 3 more minutes until very thick and pale yellow. Beat in the lukewarm chocolate mixture. Gradually stir in the flour mixture by hand. Stir in the remaining chocolate chips and nuts. Dough will be softer than most cookie dough.
  5. Scoop batter by 2 Tbsp-fulls onto pans, placing them 1-1/2 inches apart. Bake, switching positions halfway through, for 17-20 minutes, until the edges are set. Don't overbake them (though the batch I overbaked was delicious once you gummed them a bit. . .). Cool completely before storing.

Oops. The cookie that broke obviously needs to be culled from the pack.

Thursday, May 27, 2010

Pax cookies


the view from my building

Life rolls on. I've been harvesting measles viruses like you couldn't imagine and leave for my summer course in MA in two weeks. Amanda had her last high school choir concert. Matt was at a google conference in San Fran last weekend and had a jolly good time. Our friend Erin finished teaching Maymester. Amelia, the bravest of us all, started her year-long job in Uganda last week. You rock, girl.

I saw these cookies on tastespotting this week, and thought a.) the name was so ridiculous and b.) it would be refreshing to have cookies that are only mildly sweet. I'm a big biscotti enthusiast, so was eagar to try a variation from another country. And I'm enthralled by the fact that I can't pronounce the name

half-sliced logs

Paximathakia Portokaliou
  • 1/4 tsp baking soda
  • 1/3 cup plus 2 Tbsp orange juice
  • 1/2 cup plus 2 Tbsp olive oil
  • lemon juice and zest from half a lemon
  • 1/4 cup lukewarm water
  • 1/4 tp ground nutmeg
  • 1/4 cup toasted sesame seeds
  • 3 1/2 cups flour
  • 1/3 cup sugar
  • 1 1/2 tsp baking powder
  1. Heat over to 400 and grease or line cookie sheet.
  2. Dissolve baking soda in orange juice. Add oil, lemon bits, water, spice, and seeds. Whisk until combined
  3. Mix dry ingredients together and add liquid slowly. The dough should be damp and tacky, but not sticky. Knead in the bowl until it clumps, then knead on counter until smooth and soft (5')
  4. Divide dough in half and form 14" long logs. Place on cookie sheet and flatten slightly. Slice the logs halfway through at 1/2 inch intervals.
  5. Bake for 15 minutes until golden. Remove cookie sheet from oven and when cool enough to handle, slice the cookies all the way through. Decrease oven temp to 200. Set them upright on the cookie sheet and return to oven to dry for 1-2 hours.
  6. Cool completely and store in airtight containers.

Monday, May 10, 2010

and finally. . . macarons!


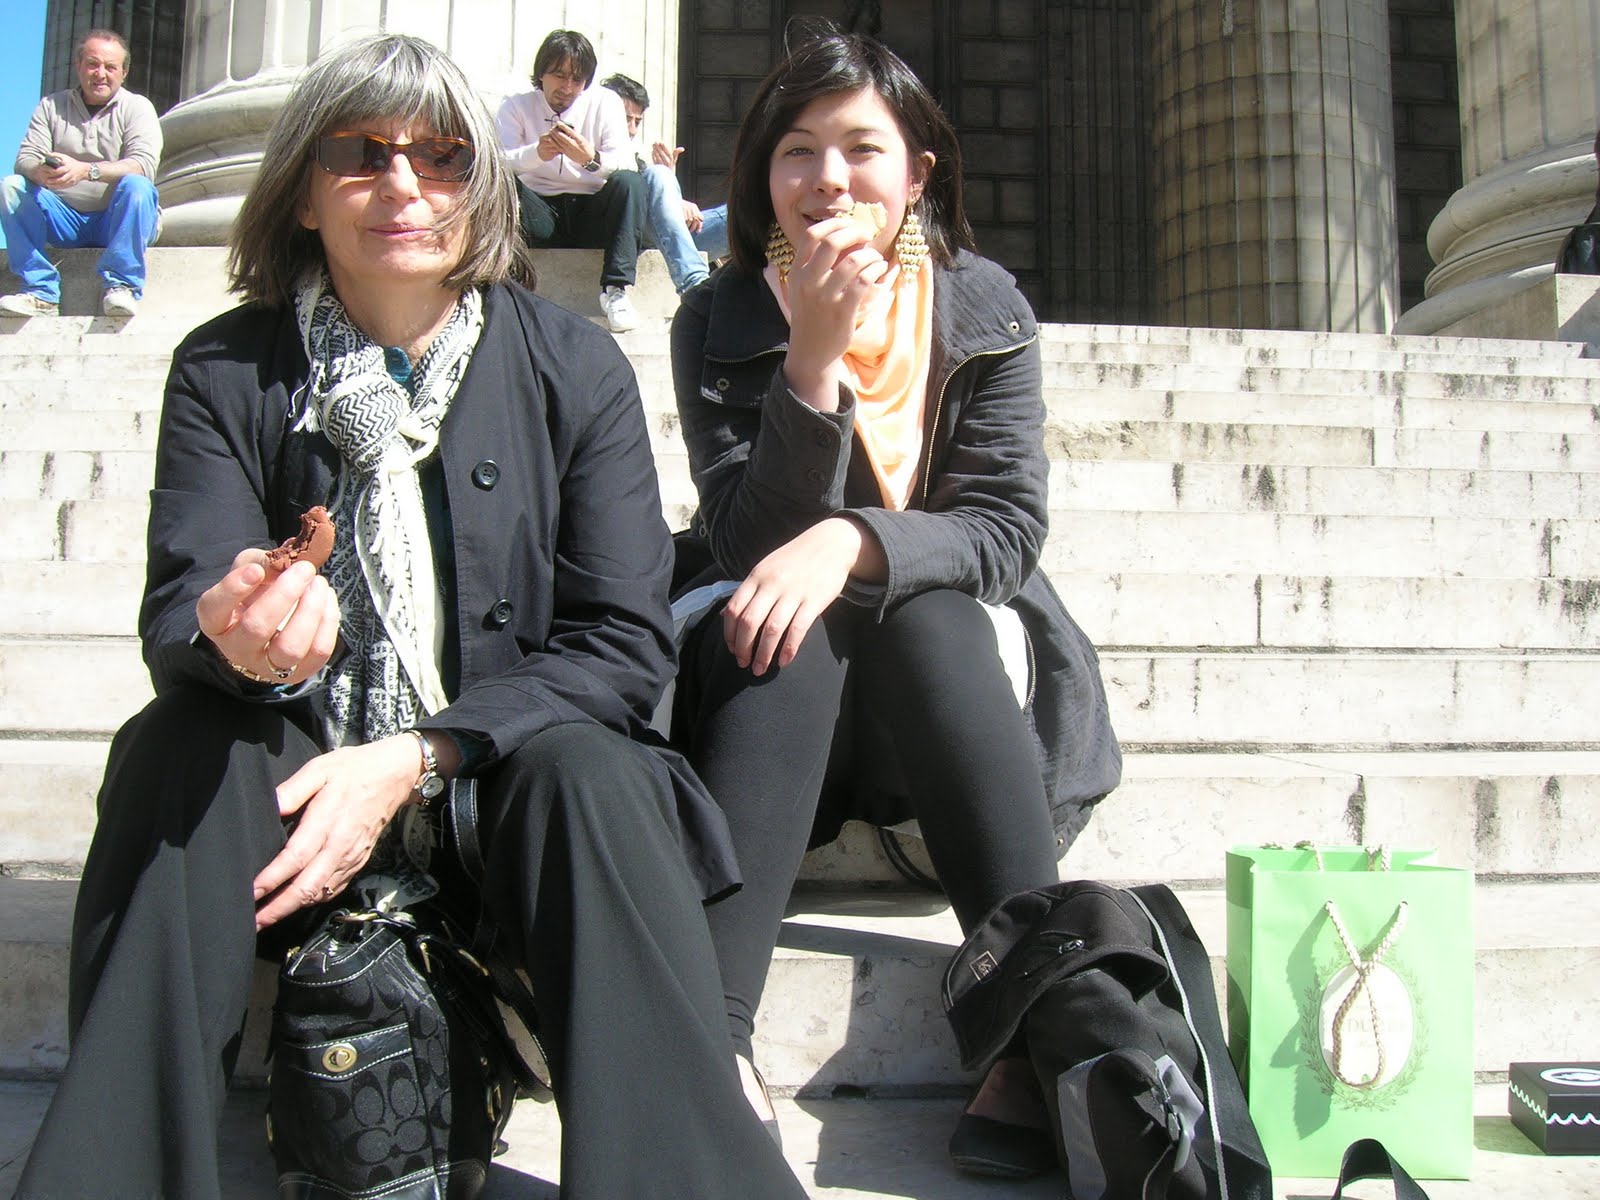
Mom and sister enjoying their first macaron.


Finals ended last week, and it feels great to be somewhat less busy. I turned in a 20 page paper about genetic biases in viral genomes after having to remake all the data about 4 times. I presented my sequence data for lab group #2, whose PI was impressed enough to offer to pay for my summer school in Wood's Hole. I discussed my new research ideas with both advisors, and got optimistic responses. Life is treating me pretty good.

My first attempt at macs

In other news, I got my first road bike. It seems like everyone in Boulder has one, and I was feeling a little left out when my friends would go out for long rides. I've been riding as much as possible, and Saturday, a friend took me up to Jamestown, which is about 32 miles round-trip with 3000 ft. vertical rise. It took about 3.5 hours, and I was so pooped afterwords, but so excited to have experienced the next level of biking. And I got a bike jersey at Savers for $5 that matches my bike and my helmet. Might as well look good too.

I've been meaning to make macarons for several months, and have always been a little too imtimidated to get started. While in Paris with the fam, we experienced Laduree. And while it wasn't exactly life-changing, it was pretty amazing. This weekend, I was feeling pumped to be done with finals and slightly whimsical after watching Where the Wild Things Are. And the number of egg whites being stored in my freezer was bordering on ridiculous.

I bought a cake decorating set especially for my mac experience, and it included coloring pastes. The blackberries were on sale this week, and I was particularly taken by Laduree's berry versions, so I dyed the macs purple and put blackberries in the buttercream.
Not quite round. . .

I can't say the experience went as well as I'd hoped. The frosting refused to emulsify after I added the blackberries. I only have one baking sheet with one silpat, so I baked the others on tin-foil. The non-greased tin foil: bad idea. Or good idea, since they stuck miserably, and we got to eat them straight off the foil. The ones on the baking sheet were pretty burned after 20 minutes, so I'll reduce the cooking time next time. And I dropped my pastry bag tip in the garbage disposal and mangled it.

But they are still lovely and delicious. I'll take it for a first shot.

Blackberry Macarons
adapted from New Best Recipes International

Macarons:
  • 1 3/4 cup almond flour (or finely ground blanched almonds)
  • 1 3/4 cup powdered sugar
  • 1/2 tsp salt
  • 3 egg whites
  • pinch cream of tartar
  • 3 tsp granulated sugar
  1. Combine almond flour, powdered sugar, and salt in food processor and blend until smooth and combined.
  2. Whisk egg whites until frothy. Add cream of tartar and whisk until soft peaks form. Gradually add sugar and whisk to medium-hard peaks.
  3. Fold 1/4 of the powder mixture into egg whites. (This is where I added coloring, but I would probably add it to the solid mixture in the form of dyed sugar granules, because I think I ended up over-folding to get the color incorporated.) Fold in remaining flour/sugar mixture.
  4. Spoon into a piping bag and pipe small rounds onto parchment paper, silpat, or lightly greased tin foil. Let sit for 1.5 hours to dry.
  5. Heat oven to 325. Bake macarons, one sheet at a time, for 18 minutes.
  6. Let cool completely, and match up like-sized pieces. Sandwich some buttercream between cookies. I used a half-batch of Jen's recipe from userealbutter but with blackberries instead of strawberries. Eat or refrigerate.
Laduree

Mine. Definitely something to be desired.
And its not just photography skills.

Monday, March 8, 2010

Going feral alone in the apartment


Matt was up in the mountains this weekend with a bunch of college friends. Luckily, the snow up there is finally beginning to shape up, so they had a great time. Despite going to bed at 9 most nights for lack of entertainment, I had a good weekend too. We had prospective student visit day in our department, which involved lots of cool people and even more good food. I finally came up with a research idea that doesn't suck. I went for long runs in the beautiful weather. Still, by the time Sunday morning came around and I had finished cleaning the kitchen scrubbing the stove burner pans, and doing the laundry, I was going a little nuts. Thus the baking spree. I asked Matt if he wanted muffins in addition to biscotti and chocolate cookies and I think he thought I was loony.

Also, I've been baking really good bread from my sourdough starter (no yeast added!), but have thus far failed to document it, so hopefully I will post on that soon. Mmmm bread. Mmm chocolate (I also made Dorie Greenspan's amazing World Peace cookies, which have become my go-to cookie recipe)

This weekend up the canyon in the crazy hippie/hick town (Nederland) they had a festival celebrating this frozen dead guys whose family is waiting for cryo technology to progress to a stage where they will see their icy grandpa again. Frozen dead guy days involves coffin races, frozen salmon toss, jumping into freezing water, bluegrass, and general mayhem. Not really my thing, but we went up for the coffin races Saturday. It was mildy entertaining, and there were so many cute dogs!

I've made this biscotti recipe before and have since become entirely enamored of it. I sent some to my friends, to my family, to my labmates, to Matt's friends. I think it's enchanted me by the fact that it can be so deliciously addicting without any butter. Not that I'm against butter. Just amazed that cookies can be good without it.


Orange-Almond Biscotti
adapted from Cooking for Engineers

  • 1 cup sugar
  • 2 eggs
  • zest and juice of one orange
  • 1 cup whole roasted almonds
  • 1/2 tsp vanilla extract
  • 1/4 tsp almond extract
  • 2 cups flour
  • 1/2 tsp salt
  • 1 tsp baking soda
  1. Whisk together the sugar, eggs, and zest until light yellow and fluffy.
  2. Stir in juice, almonds, and extracts
  3. Fold in the dry ingredients until just combined
  4. Shape into a log (about 3/4 inches thick) on a baking sheet lined with parchment/silpat
  5. Bake for 40 minutes at 350F
  6. Cool until you can handle it, and slice into 1/2 inch slices. Return pieces to baking sheet sliced-side down and bake for another 8 minutes.
  7. Cool on a wire rack and enjoy with your favorite hot beverage. Or just alone.

Thursday, February 25, 2010

Alfajores and butter jewels

The weather in Colorado is just crazy. It can be 40 one day and snowing buckets the next. I'm so used to the limited precipitation here, that I'm downright appalled when it does. I even have to stop myself from getting grumpy when it gets all snowy and makes my bike messy and shushes up the roads. by remembering that it's supposed to snow in February. Getting soft.

They kind of look like hills with snow.

This is a little postponed, but the weekend of valentines day, my friend E and I got together and made an amazing array of cookies. 4 hours of sweat and toil netted us over 250 cookies, most of which were apparently devoured by E's co-workers the next day. She's made these cute butter jewels every valentines day for about 8 years, and I'm always looking for an excuse to bake something for a pre-destined audience.


E lived in Venezuela for a summer and is generally enthused about South America. On this occasion, she introduced me to alfajores. Dulce de leche sandwiched between two soft pillowy cookies. A perfect excuse to eat two cookies and some dulce de leche and call it one things. Not that I need such excuses. The dough was similar to chocolate chip cookie dough, but with slightly less butter and added orange juice and cocoa powder.

The well known, seemingly idiot-proof method for dulce de leche is to simmer a can of sweetened condensed milk in a saucepan for 2 hours. Apparently not idiot-proof enough for us at 5,000 ft, as ours was not nearly caramelized enough. Thanks to the genius of David Lebowitz (again), we also tried a second method: baking the milk in a water-insulated pyrex pan. This turned out so much better, even though we forgot to cover it with foil.

Just as we put it in the oven

After 2 hours. Whisk away!

Alfajores

adapted from Matt Bites
  • 14-oz. can sweetened condensed milk
  • 3 cups all-purpose flour
  • 1 1/2 tsp baking powder
  • 1 tsp salt
  • 3/4 cup softened butter
  • 2 eggs
  • 3/4 cup milk
  • 1/4 cup orange juice
  • 1 tsp vanilla extract
  1. For the dulce de leche, preheat the oven to 350. Nest a 9x9 pan in a larger pan (both glass or pyrex preferrably). Pour the sweetened condensed milk into the 9x9 and fill the larger pan with water to just above the level of the milk. Cover with tin foil and bake for 2 hours until golden and bubbly. Alternately, you could buy dulce de leche or make it by simmering the milk in the can for 2+ hours. When it's finished, whisk until smooth and cool.
  2. Combine flour baking powder and salt in a small bowl.
  3. Cream butter and sugar together. Add eggs one at a time, while stirring. Slowly add the dry mixture until combined. Pour in the milk, juice, and vanilla, and continue mix until dough is cohesive.
  4. Drop by tablespoons 2" apart onto baking sheets lined with parchment paper. Making them round here makes things easier later on.
  5. Bake for 14 minutes, rotating halfway through. Cool completely.
  6. Match the cookies up by shape and size and sandwich dulce de leche between
  7. Try not to eat them all in the first hour. (good luck)

Pillowy sandwiches of goodness

Our second cookie was butter jewels. I don't have the recipe, but that's just an excuse to make them again with E next year. She let me use her camera, which is not new, but is certainly better than my 5 year old point-and-shoot. I felt so powerful and in control. Needless to say, I may have to get a new camera sometime. I took pictures of just about everything in her house.

Someone couldn't wait until the cookies were baked. . .

Filling them with tasty jam